1. Why Hoodie Print Placement Matters (and How to Use This Size Chart)
Hoodies aren’t tees, and hoodie print placement changes the outcome. Pockets, zippers, ribbing, seam build-ups, and fleece loft all affect how ink lays and how artwork looks once worn. According to Impressions Magazine, bulky fleece and seam junctions affect off-contact and ink deposit, which can cause distortion or fibrillation if you print too close to those features. So placement is not just a style choice. It’s production reality.
This guide is for brand managers, school sponsors, and designers who need consistent results across sizes. Use the ranges here as a starting point, then verify on the actual garment. We’ll reference the High Point Shoulder (HPS), which Techpacker defines as the highest point where the shoulder seam meets the collar. That is your vertical reference. Measure down from HPS, then out from center.
Adopt a physical workflow before approvals: print art at 100 percent, cut paper templates, and tape them on garments. Then photograph and annotate for client sign-off. It takes minutes. It prevents reprints.
Key idea: hoodies require larger safe zones around pockets, zippers, and seams than tees. Respect those buffers to avoid print defects.
This size chart complements our tee placement standards so your apparel line feels unified across styles. See the tee guide for exact cross-garment alignment points: t-shirt print placement guide.
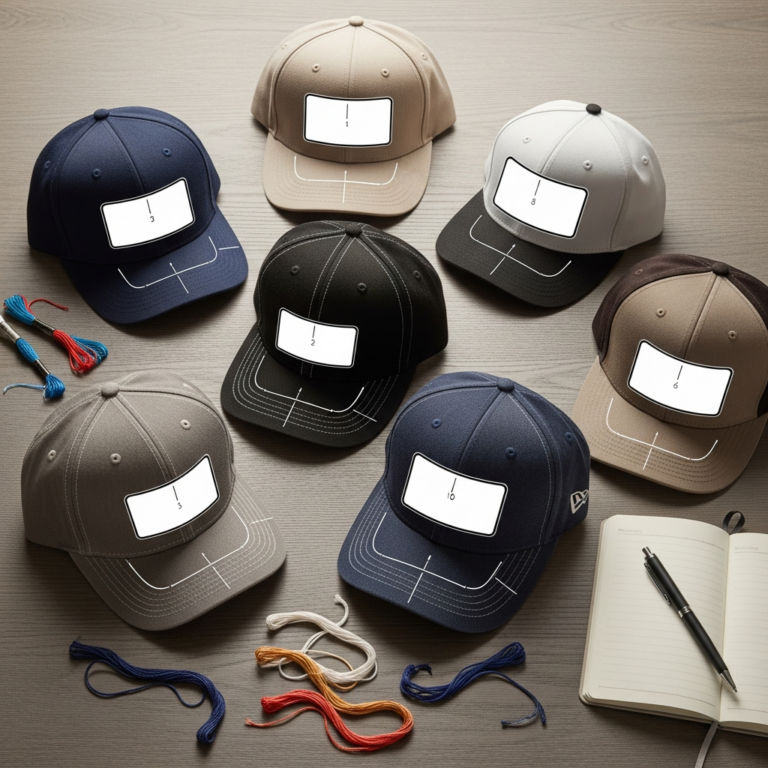
2. Quick Reference: Standard Hoodie Imprint Areas (Size Chart Overview)
Use these adult S-XL starting points. Confirm on your blank, since pocket heights, zipper plackets, and ribbing vary.
-
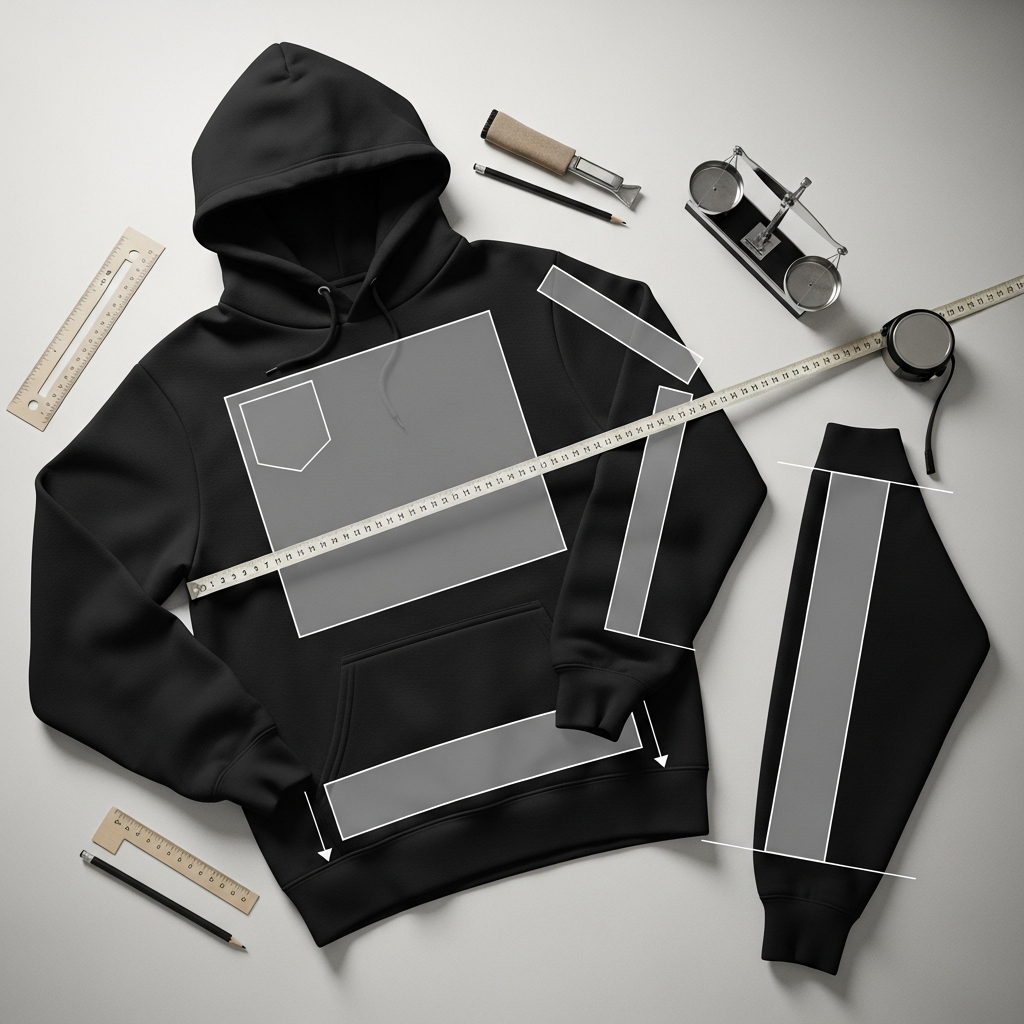
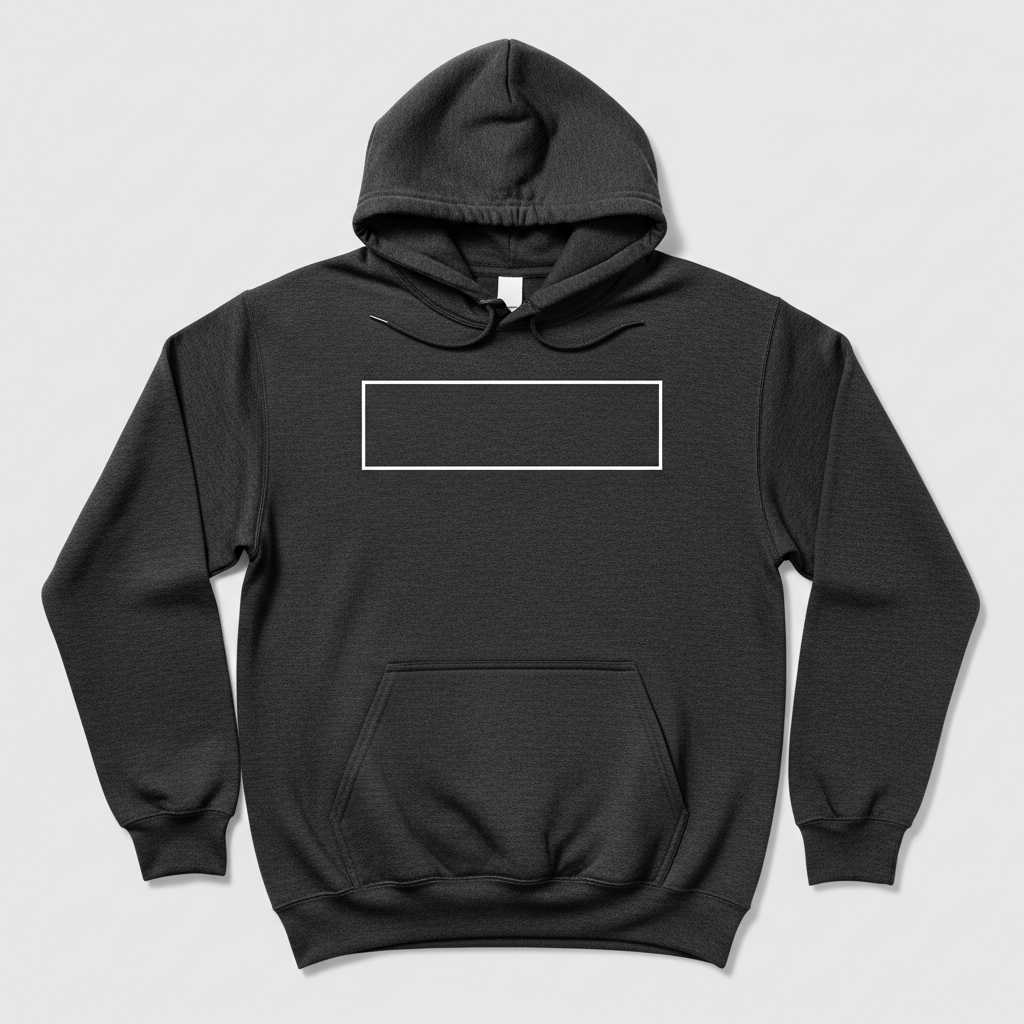
Full front above pocket (pullover): keep the bottom of the print about 1 inch above the pocket seam to avoid disruption, as recommended by Transfer Express. Keep the art inside your process limits: DTG commonly caps at 12 x 16 inches, and many heat press platens are 16 x 20 inches. Adult screen pallets are often around 16 x 18 inches.
-
Left or right chest: typical logos are 3 to 4 inches wide, with 3.5 x 3.5 inches common on hoodies (Transfer Express). Place relative to HPS and the garment centerline for balance.
-
Full back: DTG max areas are about 12 x 16 inches, while many presses accommodate up to 16 x 20 inches. Drop the print lower than on tees so the hood does not cover the top of the graphic (Transfer Express).
-
Sleeve (vertical): practical max is set by sleeve pallets, often 4 x 16 or 5 x 16 inches (Vastex). Avoid printing into ribbed cuffs.
-
Pocket print: avoid seams and ribbing that create height differences. If heat printing, raise the print area with pads or pillows for even pressure (Stahls’).
Treat these measurements as starting points, not absolutes. Youth and oversized fits will need scaled artwork.
Explore and download the quick chart for your team: hoodie print placement size chart.
3. How to Measure and Mark Hoodie Placement (Step-by-Step)
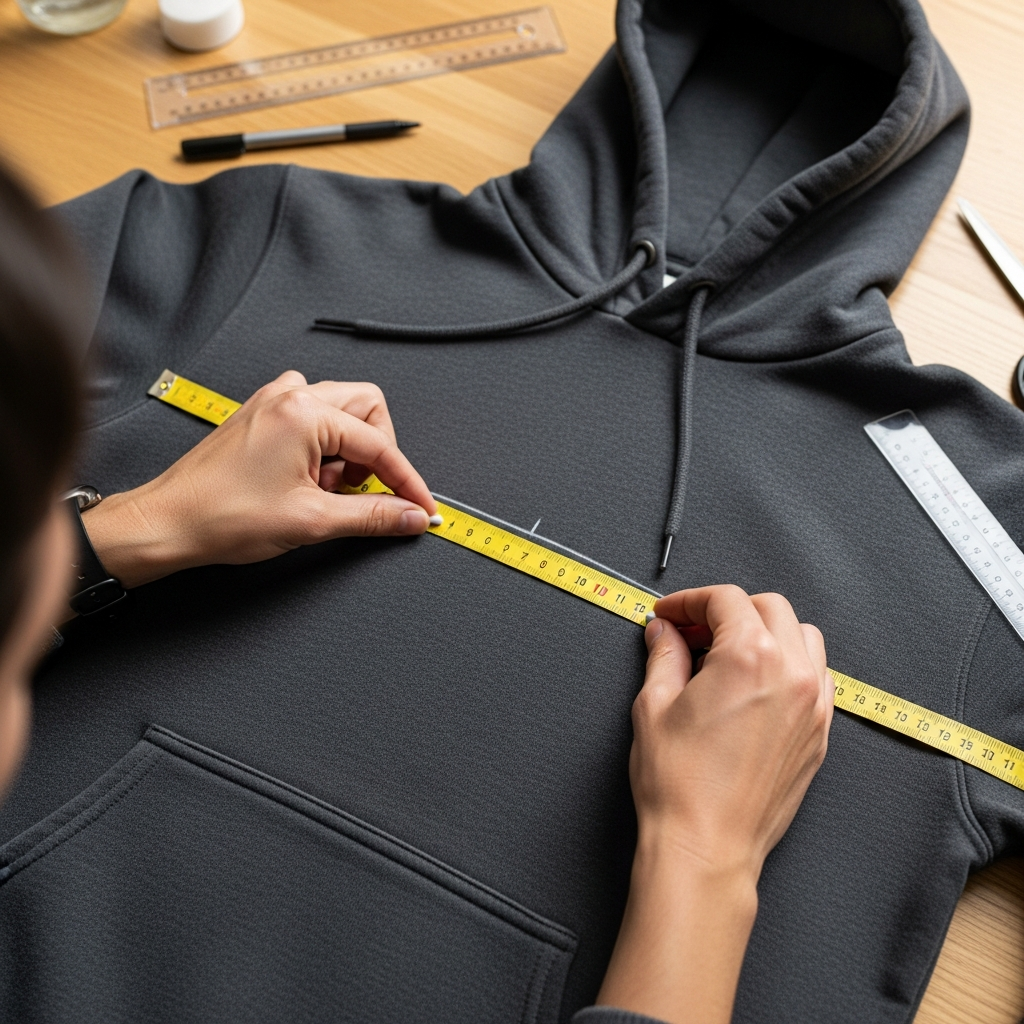
Tools you’ll want on press and at approvals: a soft tape, a rigid ruler, a center-finding ruler, chalk or an erasable pencil, and full-size paper templates. These basics turn a guess into a repeatable system that anyone in your shop can follow.
-
Identify the HPS at the neckline where the shoulder seam meets the collar. According to Techpacker, garment lengths are commonly measured from HPS, which makes it a reliable vertical anchor.
-
Find the centerline. Fold the hoodie lightly or use a center-finding ruler to mark the midline on the chest and back.
-
Assess interferences: the hood drape on the back, the pocket seam height, ribbing stretch at the waistband and cuffs, and any zipper placket.
-
Measure down from HPS to set the top of the design. Then measure up from the pocket (pullover) to confirm you will clear the seam by at least about 1 inch (Transfer Express).
-
Place a full-size paper cutout of the art on the garment. Check visibility around the hood and pocket. Small changes now save jobs later.
-
Photograph the garment on a flat surface and, if possible, on-body. Add dimensions and notes.
-
Record all placement decisions. Use the same reference points for every size group.
For art prep, follow our preflight list to avoid rework: print-ready art checklist.
4. Front Prints Above the Kangaroo Pocket (Pullovers)
Pullover pockets create a physical speed bump for squeegees and transfers. Impressions Magazine notes that fleece seams and bulk alter off-contact and ink deposit, which is why prints that encroach on the pocket often look inconsistent. The simplest fix is space. Keep the bottom of your design about 1 inch above the pocket seam (Transfer Express).
Your maximum usable size depends on process limits. DTG areas often top out at 12 x 16 inches, which is a solid full front for most adult S-XL hoodies. Heat presses with 16 x 20 inch platens can run larger fronts when the garment and art allow it. Screen presses commonly use adult pallets around 16 x 18 inches, which also defines practical maximums for many setups.
Scaling from XS to 2XL-plus? Hold layout rules constant (clear the pocket, align to centerline), then scale art proportionally within your process area. Cropped or boxy fits shift the visual balance, so place with a paper template and confirm where the pocket sits on-body.
If the required visual size would drift into the pocket seam, reduce the art height or change the placement rather than risking poor ink laydown.
Ready to produce? Get a quote and production options: custom hoodie printing.
5. Left/Right Chest Prints (Badges, Seals, Sponsor Marks)
Chest marks must be legible at a glance. Transfer Express recommends 3 to 4 inches wide, with 3.5 x 3.5 inches as a common target for adult hoodies. It reads well without colliding with zippers or pockets. Start with HPS and the garment centerline, then nudge slightly toward the wearer’s left or right depending on side.
If you are working on a full-zip, align with the zipper without letting the design straddle the placket. Primary elements should not sit on top of the zipper chain. For very small type, follow screen-printed transfer art minimums: at least 0.012 inch line thickness, 0.25 inch minimum text height, and about 0.04 inch minimum negative space. Those thresholds help details hold on textured fleece surfaces (Transfer Express Art Guidelines).
When critical micro-detail is non-negotiable, consider embroidery instead of print. Dense thread can render small elements cleanly where ink would spread or break near seams.
Chest marks work when they are simple, bold, and clear of obstructions. If you are forcing it, it’s time to simplify.
Compare embroidery sizing and clarity against print for tight marks: embroidery size guide.
6. Full Back Prints (Statement Graphics)
Hoodies hide the upper back. According to Transfer Express, decorators place full back graphics lower on hoodies than on tees so the hood does not cover the design. That single decision can save an entire run from looking too high once worn. So set your top edge only after you see where the hood rests on-body.
Size ranges are process-driven. For DTG, a common maximum print area is 12 x 16 inches, which fits most full backs on adult S-XL. Many heat presses feature a 16 x 20 inch platen that accommodates larger art, and screen-print pallets are often around 16 x 18 inches. Choose the largest area your garment, design, and equipment can support without crossing seams or ribbing.
Cure and handling matter on fleece. Larger prints increase contact with thick loft, so you may need a solid underbase, slightly more off-contact, and test prints to ensure opacity and smoothness, as Impressions Magazine advises when dealing with fleece.
Goal: a bold back hit that’s visible under the hood and sits flat across the fleece without distortion.
7. Sleeve Prints (Vertical and Wrap)
Sleeve graphics look great, but they are governed by pallet size and cuffs. Vastex specifies sleeve pallets around 4 x 16 and 5 x 16 inches, which sets the practical footprint for vertical prints. Keep the print off the ribbed cuff to avoid distortion and use the sleeve seam as your straight reference line. That way the print reads clean and straight once worn.
Adult hoodie sleeves measured from center back often hit 33 to 36 inches in S-XL on standards like Gildan 18500. You won’t print that entire length. The press area is the limiter. Plan your art to sit comfortably inside that 16 inch length footprint with room away from the cuff and the shoulder cap.
Orientation is a brand choice. Some teams prefer wrist-to-shoulder reading direction. Others choose shoulder-to-wrist. Pick one and document it in your style guide.
For youth sleeves and raglan or oversized cuts, confirm diameter and seam position with a paper template before you burn screens or print transfers.
See more pointers and examples: sleeve print size guidelines.
8. Zip Hoodies: Zipper and Placket Constraints
Zippers are hard stops. Impressions Magazine reports that the raised, hard zipper area makes screen printing difficult, often causing registration gaps or poor ink laydown. A #5 coil zipper has teeth about 6 mm wide, which is plenty of hard, uneven surface that can break fine detail or split color fills. So keep primary elements off the chain and placket.
Safe strategies:
-
Split-front artwork: design mirrored halves that kiss the zipper without crossing it. Keep critical elements on either side of the placket.
-
Transfers: heat-applied transfers can sometimes span the area more cleanly than screens, provided you elevate the print zone with pads or pillows for even pressure.
-
Embroidery: consider patches or appliqué that are placed away from the zipper line.
If a client asks to print directly across teeth, explain the risk: broken lines, registration issues, and inconsistent deposits.
For a decision checklist tailored to zips, see: zip hoodie print guidelines.
9. Working Around Seams, Pockets, and Ribbing
Seams and ribbing change height across the platen. Impressions Magazine explains that seam build-ups and fleece loft impact off-contact and ink deposit, which can cause starved prints or rough fibrillation. That is why seam clearance matters, especially above pouch pockets and near side seams.
With heat presses and transfers, Stahls’ recommends elevating the print area with a Heat Press Pad or Pillow so seams and zippers drop into the pad. This creates even pressure and helps transfers cure properly. If you must be close to a seam, test first.
Checklist for reliable application on fleece:
-
Keep the print clear of pocket openings and seam junctions wherever possible.
-
Use pads or pillows to create a uniform plane.
-
Follow your transfer provider’s heat, dwell, and pressure settings for fleece. Then perform a wash test.
-
On screens, use a solid underbase and dial off-contact for loft control (Impressions Magazine).
You will save more garments by adding space than by adding pressure.
Learn fleece-specific transfer handling here: DTF transfer application guide.
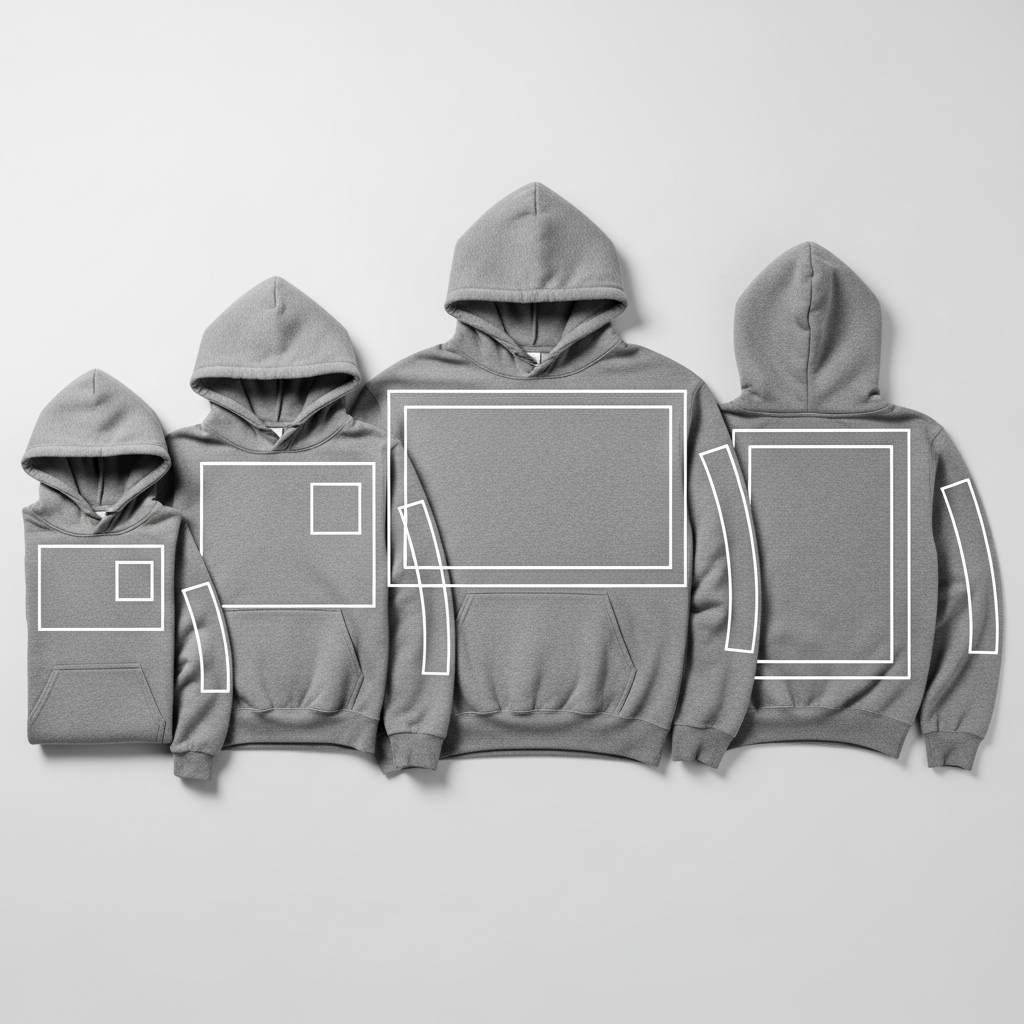
10. Youth Hoodies and Oversized Fits: Scaling the Chart
One size does not fit all. Youth hoodies are significantly smaller than adult garments. On popular standards like the Gildan 18500B, body widths run roughly 15 to 20 inches and body lengths about 18 to 25 inches across YXS to YL (JiffyShirts data). That scale shift demands smaller art, shorter sleeve hits, and larger safe zones.
Scale artwork relative to the garment body, not a fixed inch value. Keep the same rules, like clearing the pocket seam and staying off cuffs, but reduce height and width so the design sits comfortably on the panel. Oversized and dropped-shoulder fits can make a standard placement feel high or too centered. So use the HPS and centerline, then verify with paper templates on real sizes.
Proof by size groups. Create one mockup for youth, one for standard adult, and one for oversized or tall. And if a sleeve print might run into ribbing, trim the length inside the sleeve pallet footprint so it remains off the cuff.
Separate approvals prevent surprises when the smallest size arrives next to the largest.
11. Art Setup for Hoodies: Screen Print, Transfers, and Embroidery
Prepare files with hoodie constraints in mind. Avoid placing fine lines or micro-type where they would fall on seams, zippers, or ribbing. On dark fleece, a white underbase is typically required for vibrant colors. ScreenPrinting.com notes that you should account for underbase spread and the extra ink deposit, which can soften fine detail.
For transfers on fleece, follow minimums published by providers. Transfer Express specifies minimum line thickness of about 0.012 inch, minimum text height around 0.25 inch, and minimum negative space near 0.04 inch for show-through. Those thresholds help detail hold on textured substrates.
Proof smart. Use 1:1 mockups with dimensions, on-body comps when visibility matters (like backs under hoods), and clear production annotations: HPS distances, centerline alignment, and pocket seam clearance. Then test print on the actual blank to confirm opacity, hand, and edge quality before full production.
Prints look best when the file anticipates fleece loft, seam height, and equipment limits.
Get our prepress specs and templates: screen print file setup.
12. Common Hoodie Placement Mistakes (and Easy Fixes)
-
Placing a front hit too close to the pocket seam. Fix: move the art about 1 inch above the pocket seam as Transfer Express advises, or reduce art height so the bottom edge clears the seam.
-
Back prints placed where the hood covers them. Fix: set the top edge lower than your tee standard so the design stays visible, as Transfer Express recommends.
-
Oversized sleeves that crease on press. Fix: keep art inside a 4 x 16 or 5 x 16 inch sleeve pallet footprint (Vastex) and off the cuff.
-
Ignoring blank-to-blank variation. Fix: verify pocket height and hood drape on the exact garment you will print, then adjust.
-
Centering to the zipper or pocket instead of the body midline. Fix: use the centerline and HPS as your consistent references.
-
Skipping paper template test fits. Fix: do a 1:1 paper mockup and photo proof every time a placement is new or size-sensitive.
Most redo’s trace back to ignoring seams, hoods, or equipment limits. Respect those three, and errors drop.
13. Rapid Placement Decision Flow (TL;DR)
-
Choose garment type: pullover or full-zip.
-
Pick placement: full front, chest, full back, sleeve, or pocket.
-
Identify interferences: pocket seam, zipper, ribbing, hood drape, or side seam.
-
Select size inside your process limits: DTG around 12 x 16 inches, heat press platen near 16 x 20 inches, sleeve pallets about 4 x 16 or 5 x 16 inches.
-
Measure from HPS and centerline. Confirm a 1 inch gap above a pullover pocket seam (Transfer Express).
-
Test with a 1:1 paper template on the actual garment. Photograph and annotate.
-
Approve by size group. Note changes for youth and oversized fits. Print.
Grab ready-to-use outlines for common sizes: hoodie size templates.
14. FAQ: Pocket, Zipper, and Sleeve Placement
Q: Can you print across the zipper or pocket? A: You can, but expect issues. Impressions Magazine explains that zippers and thick seams raise the surface and cause ink deposit and registration problems. Keep primary elements off the zipper chain. For pockets on pullovers, keep about 1 inch of clearance above the pocket seam (Transfer Express). Consider split-front art or transfers when the design demands a centered chest hit.
Q: How big can a sleeve print be on adult vs youth? A: The press defines the limit. Sleeve pallets are commonly 4 x 16 or 5 x 16 inches (Vastex). Adult sleeve lengths often run 33 to 36 inches from center back for S-XL (Gildan 18500 data), but you will use the 16 inch print zone. Youth sleeves are shorter and narrower. Always template first.
Q: How far down from the collar should a full front or back start? A: Use the HPS as your top reference and then account for hood drape on backs. Transfer Express advises dropping back prints lower than tees so the hood does not cover them. For fronts, confirm pocket seam clearance on pullovers before locking the top edge.
Q: Do placements change for raglan or dropped-shoulder hoodies? A: Yes. The seam angle and shoulder drop change where the garment appears centered on-body. Use HPS and the body centerline, then verify with a paper template to find the visual center.
Q: What if my design needs to be larger than the chart suggests? A: Check your equipment limits: DTG areas around 12 x 16 inches and heat press platens near 16 x 20 inches. Adult screen pallets are often about 16 x 18 inches. If the art exceeds those, simplify or reposition, or consider jumbo setups if available.
15. Conclusion: Lock in Your Hoodie Placement with Confidence
Measure from the HPS, keep a clean buffer from seams, pockets, and zippers, scale by size group, and proof at 1:1 on the real blank. Those habits, plus process-aware sizing, prevent most hoodie mishaps. And they make your brand standards consistent across every sweatshirt in the run.
Download our templates, share your mockups, and send prepress a quick check before you print. A five minute review beats a full reprint. Want to align hoodies with your tees? Use the same workflow and cross-reference your tee placements here: t-shirt print placement guide.