1. Why Hat Embroidery Size and Placement Matter
A 4.75 inch wordmark that looks sharp on a mid-profile cap can crumple on a low-profile dad hat. Get hat embroidery size and placement right to protect stitch quality, readability, and how your logo sits across seams. Local brands and school teams notice on game day.
This guide serves coordinators ordering spirit wear, small businesses kitting out staff, and club leaders who need consistent results across sizes and styles. You’ll get practical limits by placement and hat type, embroidery safe zones, rules for 3D puff, and a downloadable spec you can share to speed approvals. If you need a quick definition or best practice, bookmark hat embroidery size and use it while you plan.
Proper sizing reduces puckering on soft crowns, thread breaks at the center seam, and squashed letters near the visor. It also keeps your logo legible from a few rows back. Before you request a quote, gather three things: a clean logo file (vector if possible), the exact hat style you’ll order, and your preferred placements. That prep turns proofs around faster and avoids re-digitizing when you change hats late in the process.
Key idea: choose size by hat type and crown height, then place art inside safe zones instead of pushing to the edges.
2. Quick Reference: Hat Embroidery Size by Placement
Use these working ranges that fit most structured caps. Exact limits vary by logo proportions and crown height, but this gives you a fast starting point. Keep a copy of your hat embroidery size chart handy during approvals.
-
Front center: about 4 to 5 inches wide and 2 to 2.5 inches tall on mid-profile structured caps. Low-profile crowns often look cleaner near 3.5 to 4 inches wide and under 2 inches tall.
-
Front offset (left or right): similar width to front center. Taller graphics can feel off-balance if they exceed roughly 2.25 inches high.
-
Side panels: about 1.5 to 2.5 inches wide and 1 to 1.5 inches tall. Keep horizontal wordmarks short to avoid visual wrap toward seams.
-
Back above the keyhole: generally 3 to 3.5 inches wide and up to about 1 inch tall. Arch text is more readable than long straight lines here.
-
On the strap or closure: short names or monograms often land at 0.25 to 0.35 inch letter height.
-
Beanies: cuffed beanies usually fit about 3 inches wide by 1 to 1.5 inches tall on the cuff. No cuff reduces height for clean stitching.
Safe zones help. Leave a small gap from the visor edge, eyelets, and vertical seams to limit distortion. Then adjust after a proof if the hat model runs taller or shorter than expected.
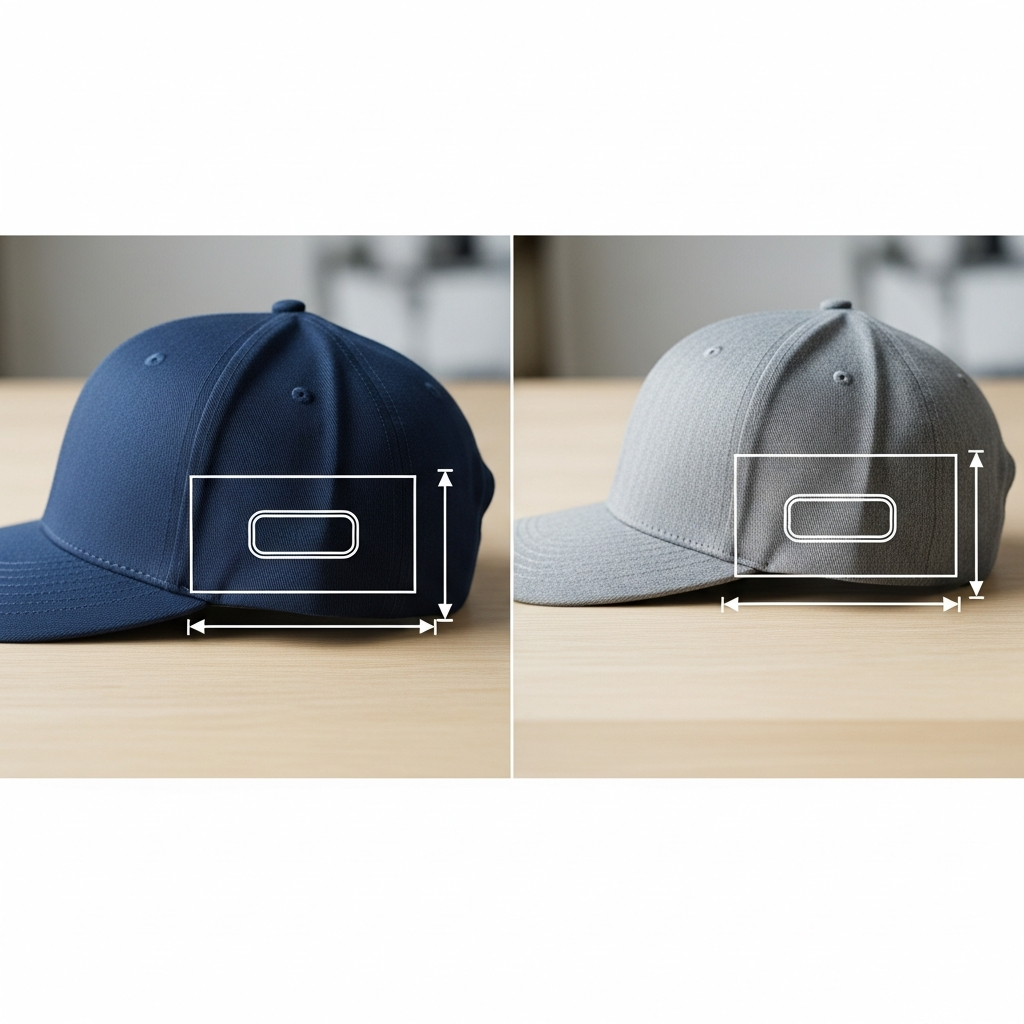
3. Front Logo Size and Placement: Center, Offset, Over the Seam
Crown height sets usable area. A mid-profile cap often supports around 2 to 2.5 inches of clean height without pressing into eyelets, while low-profile crowns favor 1.75 to 2 inches. Wide wordmarks, especially with short ascenders, read well up to roughly 4.5 to 5 inches if the front panel is stable.
Center seam strategy matters. Small scripts and fine outlines tend to distort across the seam, so keep them clear of the join or reduce size slightly. Bold shapes and well-digitized fills can bridge the seam on many structured caps, though results vary by style. Ask your digitizer to plan underlay and stitch direction so both sides meet cleanly.
Respect safe zones. Keep the bottom of your design a little above the visor stitching and leave a small buffer around eyelets. Offset fronts can help tall logos that feel cramped in the middle. And if your art relies on tiny details, convert them to solid shapes or remove them at sizes under about 2 inches tall.
4. Side Logo Size and Placement: Left and Right Panels
Side logos that read from a few feet away are simple and compact. Common sizes fall between about 1.5 and 2.5 inches wide and 1 to 1.25 inches tall. Taller graphics can feel like they wrap toward the front or back seam, so keep proportions stout and clean.
Watch clearances. Leave a small gap from the front and back seams so needles do not bind at the transitions. On truckers, give extra space near snaps and the plastic closure hardware. That space reduces thread abrasion.
Long team names often work better stacked than stretched. A two-line stack with a short width keeps letter height readable without creeping into seams. Short codes and monograms, by contrast, sit neatly in a single line.
Mesh panels require care. Dense fills on open mesh can sink or pucker, which makes fine detail fuzzy. For complex side art on truckers, consider a small patch or a simplified flat embroidery at a slightly smaller size for clean edges.
5. Back Logo Size: Above the Keyhole, Strap, and Arch Text
Above the opening, curved copy follows the hat’s arc more naturally than long straight lines. Common character heights here land around 0.25 to 0.35 inch for readability. Short phrases and team initials fit neatly within about 3 to 3.5 inches of width without crowding the seam or eyelets.
Straight text on the strap or closure wants a lower profile. Think compact initials or a short name with letter heights around a quarter inch. Plastic snaps, fabric straps, and metal buckles each change hooping and tension, so plan extra clearance near hardware.
Monograms on the back often look best between roughly 0.3 and 0.5 inch tall. Larger marks risk bending into the opening or contacting snaps. If you need a wider lockup with a badge shape, a small patch can sit centered above the keyhole and maintain crisp edges.
Quick check: if the back text looks long in the proof, reduce character count or choose an arch to preserve letter height.
6. Brim and Visor Placements
Visors and brims are possible, but treat them as specialty placements. The visor is stiff and curved. That combination can mark easily and leave needle holes visible on heavy stitch counts. Small logos near the visor edge on visors are feasible, while large fills across a curved brim on a full cap often age poorly.
Durability comes first. Frequent flexing at the visor crease can fatigue stitches over time, especially with dense fills or 3D foam. If you want edge or under-brim decoration, test a sample and review how it wears after a few bends.
When you want an unconventional placement, patches or transfers give cleaner results. A woven or embroidered patch applied to the brim handles detail and keeps stitches off the stiffest zones. For offset placements high on the crown, keep to modest sizes so the logo does not crash into eyelets or seams.
7. Hat Embroidery Size by Hat Type: 5-Panel, 6-Panel, Trucker, Beanie
A 5-panel foam front offers a single uninterrupted panel, which allows wider uninterrupted designs. Many 6-panel caps have a center seam that can challenge fine details, so seam-friendly shapes or slightly smaller widths often win. If you are choosing between them, skim 5-panel vs 6-panel hats before you lock art.
Structured crowns give stability and height, so they support taller front logos without puckering. Unstructured or dad hats drape with the head. That softer surface favors shorter heights and simple shapes that do not rely on tight outlines.
Trucker caps introduce mesh on the sides and back. Flat embroidery can work on mesh for small marks, but dense fills and 3D puff struggle. Consider side patches or keep art minimal in open areas. Front foam truckers can take larger front prints, yet eyelet and seam placement still control the safe area.
Beanies depend on cuff height. A tall cuff fits about 1 to 1.5 inches of clean height, while shallow cuffs limit character size. On uncuffed beanies, smaller flat embroidery prevents distortion as the knit stretches.
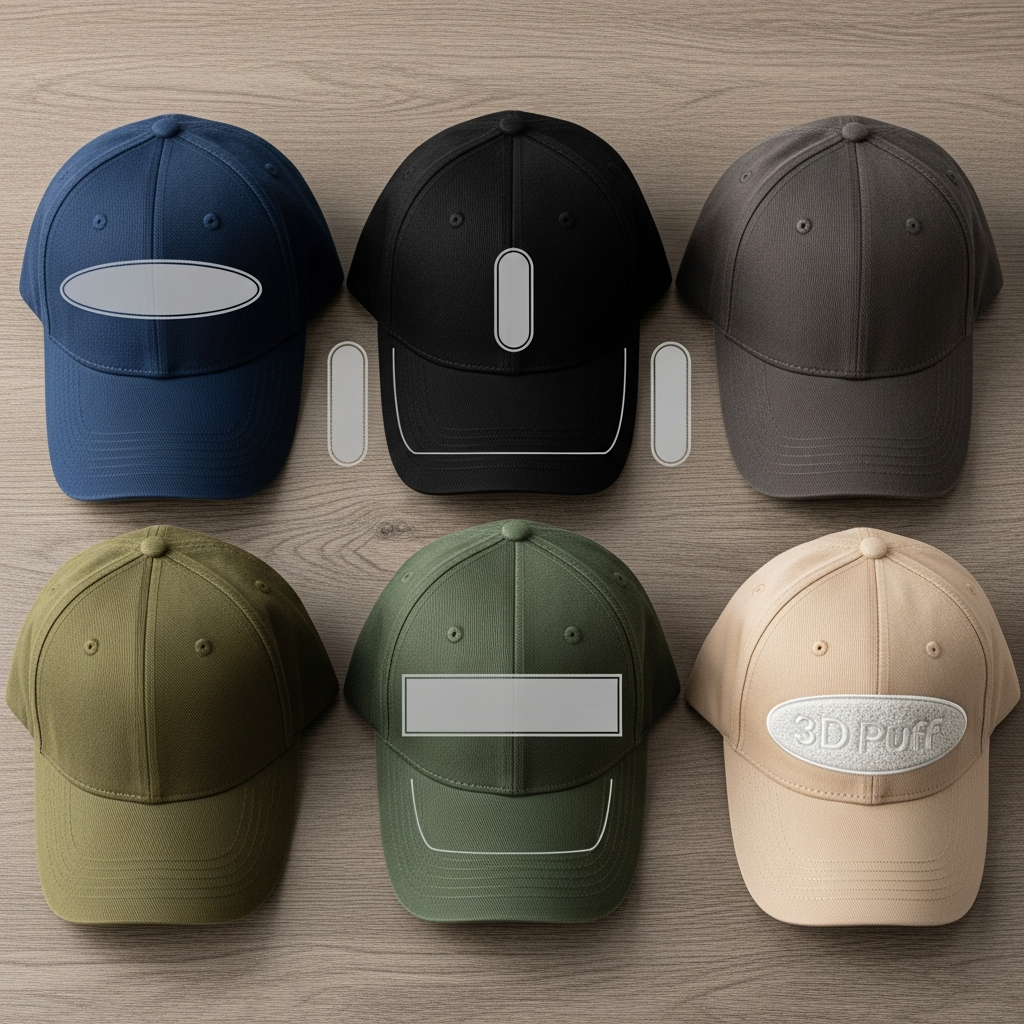
8. 3D Puff Embroidery Size Rules: Minimums and What to Avoid
3D foam looks bold, but it has limits. Many shops set a practical minimum letter height around 0.3 inch so caps close properly and foam trims cleanly. Strokes usually need to be stout, roughly 0.08 to 0.1 inch or thicker. Thin serifs and tiny counters tend to collapse or fill in.
Foam thickness usually lands in the 2 to 3 mm range. Thicker foam reads deeper, but it can snag more easily and may be less forgiving on softer crowns. Keep total puff areas modest. Large solid blocks of foam become heavy, which can stress threads during wear.
Avoid crossing seams with puff. The foam cannot sit evenly over the ridge, and the top stitch will split or leave gaps. Use flat embroidery for outlines and small details, then reserve puff for the main letters or icon. If your logo has intricate parts, choose flat embroidery instead of puff at small sizes for cleaner edges.
If you are unsure, request a puff-specific proof and a small sew-out before bulk production. That preview prevents surprises.
9. Safe Zones, Seams, Backing, and Digitizing Tips
Safe zones protect your stitches. Leave a buffer above the visor stitching, around eyelets, and on both sides of the center seam. That cushion reduces distortion, especially on unstructured caps where fabric can shift.
Backing and stabilizer choices change by hat style. Structured fronts often work well with cap-specific backing that supports the crown, while unstructured hats benefit from firmer backing to control puckering. Trucker mesh calls for lighter stitching or a patch to avoid tunneling through open holes.
Larger sizes require more stitches. As stitch count and density climb, so do run time and cost. If your proof feels dense, ask the digitizer to balance underlay and pull compensation instead of shrinking safe zones to force a fit.
Prepare files for embroidery, not print. Request DST or EMB for production. List thread colors and any color change points in the order notes. If you need metallic or specialty threads, call them out because they may affect lead time.
10. Pick the Right Hat Embroidery Size in 5 Minutes
-
Measure crown height on your chosen hat. Note eyelet positions and whether the front is structured or soft. Jot down if it is 5-panel or 6-panel.
-
Choose placement: front center, front offset, side, or back. Match your logo to the quick-reference ranges above.
-
Decide flat or 3D puff. If the logo’s thinnest strokes are under about 0.08 inch, go flat or combine flat with puff for the main letters only.
-
Check safe zones. Keep clear of the visor stitch line and seams. Confirm you have space for the width and height you want without touching eyelets.
-
Download the hat embroidery spec sheet, drop your logo into the template, and request a proof that shows exact size in inches or millimeters. Ask for a sew-out if the art is new or has tiny details.
Five minutes now prevents multiple proof rounds later.
11. Artwork Prep Checklist for Clean Embroidery
-
Provide vector art when possible. Convert fonts to outlines and remove stray points.
-
Minimums: for flat embroidery, keep line weights near 0.05 to 0.06 inch or thicker. For puff, plan letters roughly 0.3 inch tall or larger with sturdy strokes.
-
Simplify fine gradients and tiny negative spaces. For sizes under about 2 inches tall, merge hairlines into solid shapes.
-
Balance color. Pick thread colors with enough contrast against the hat body, especially on dark or heathered fabric.
-
Indicate background color on the proof, since thread sheen can change how colors read.
-
Provide a printout at intended size for your team’s internal approval, then submit that same size with your embroidery artwork guidelines to avoid redraws.
12. Approvals, E-Proofs, and Sew-Outs: Speed Up Production
Digital proofs must show exact size in inches or millimeters and the placement relative to seams, eyelets, and the visor stitch line. Ask for a front view and a side or back view if you have multiple locations. Size clarity saves days.
Request a physical sew-out in a few cases: first-time 3D puff, small text near the lower limits, or when switching to a different hat type with a new crown shape. A quick sample reveals pull, fill, and edge quality better than a screen ever will.
To move faster, use the downloadable spec templates, give one clear round of feedback tied to measurements, and approve with a simple sign-off checklist. Confirm thread colors, placement, and final width and height in writing. That keeps production aligned even if styles or sizes split across your order.
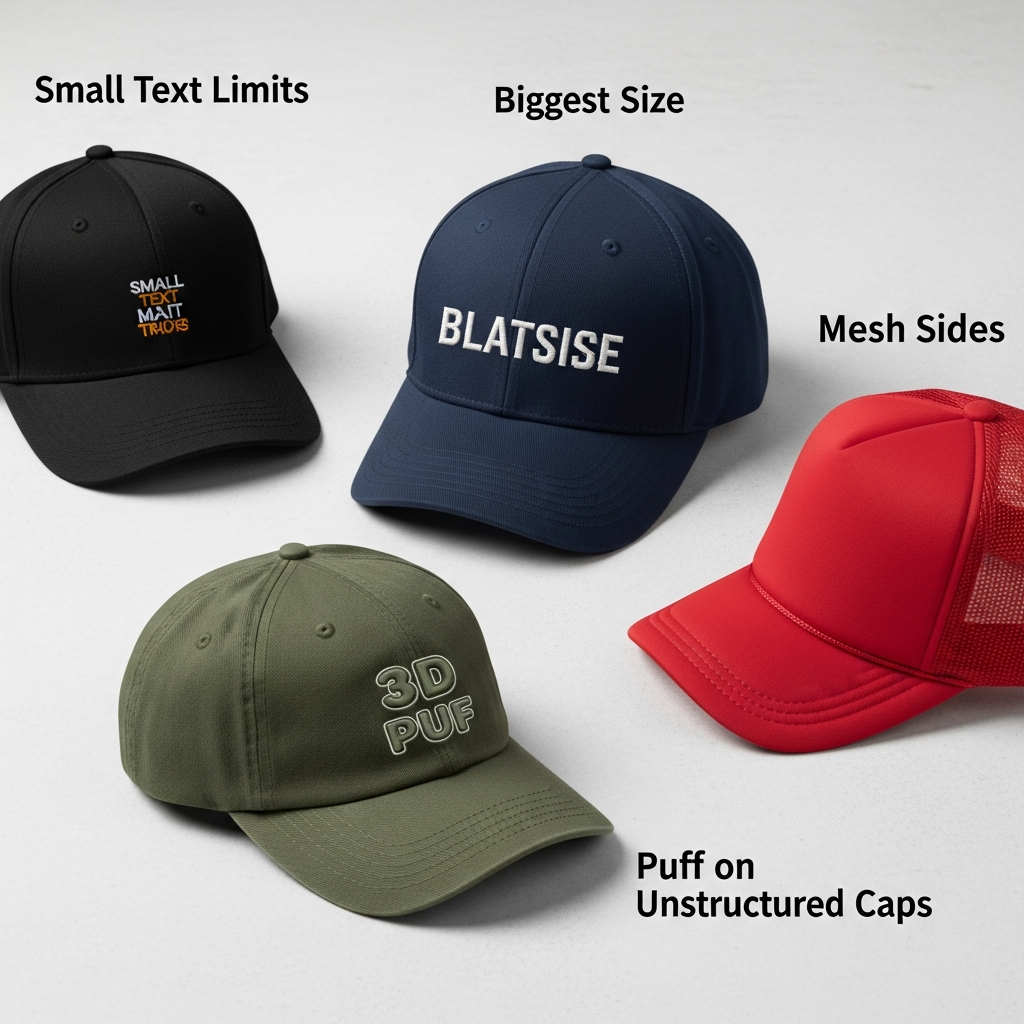
13. FAQs: Biggest Size, Small Text Limits, Puff on Unstructured Caps, Mesh Sides
-
What is the biggest front embroidery I can do on a standard cap? Often around 4.5 to 5 inches wide by 2 to 2.5 inches tall on a mid-profile structured cap, though exact space depends on the hat’s crown height and eyelet placement.
-
Can you do 3D puff on an unstructured or dad hat? Sometimes. Puff needs a stable surface and thick strokes. Softer crowns can work for simple, moderate-size puff letters, but flat embroidery is more reliable on unstructured hats.
-
What sizes work best for side logos and arch text? Side logos read well near 1.5 to 2.5 inches wide and about 1 to 1.25 inches tall. Arch text on the back often uses letter heights around 0.25 to 0.35 inch.
-
Can you embroider on the mesh of a trucker hat, and what are the limitations? Yes for small flat marks, but dense fills and puff struggle. Open mesh can cause sinking or distortion, so consider a patch for detailed art or keep it minimal.
14. Download the Hat Embroidery Spec Sheet and Templates
Grab printable templates with safe zones marked for front, side, and back placements. The file includes common size ranges and space to note crown height, hat type, and stitch colors. Drop in your logo, pick a size from this guide, and request a proof that shows exact dimensions.
Use the templates to align your internal approvals. When everyone signs the same size, production moves faster and results match expectations across all hat sizes and styles in the order.
15. Wrap-Up: Get Your Size Right and Order with Confidence
Choose size by hat type and placement, then respect safe zones and the rules that govern 3D puff embroidery size. Keep letters sturdy, avoid crossing seams with foam, and favor bold shapes at smaller heights.
Next steps are simple: download the spec, submit clean artwork, and request an e-proof that shows exact width and height. If you have edge cases or mixed hat styles in one order, start a quick conversation with our team. When you are ready to produce, explore custom embroidered hats and get your proof started.